One Stroke Nail Art for Beginners: A Complete Guide
Are you tired of plain, boring nails and want to elevate your style? Look no further! One stroke nail art is the perfect solution for every beginner. It's a technique that involves painting two colors onto a brush and creating intricate designs with a single stroke. Here's a step-by-step guide to help you master the art of one stroke nail art:
1. Prepare Your Nails: Before starting, apply a base coat to your nails to prevent any chipping or peeling. Apply a base color, and wait until it fully dries. Make sure to clean your brushes and workspace to avoid any mess.
2. Pick Your Colors: Choose two colors that compliment each other, and lay down the lighter color onto the brush. Then, dab the darker color into the middle of the brush. This technique will create a gradient-like effect.
3. Practice Strokes: Now it's time to practice your strokes. Holding the brush at a 45-degree angle, apply a little pressure and create diagonal strokes from the bottom of your nail to the top. Depending on your design, you can use a thicker or thinner brush. Don't worry about making mistakes because you can easily wipe it off with a cotton swab.
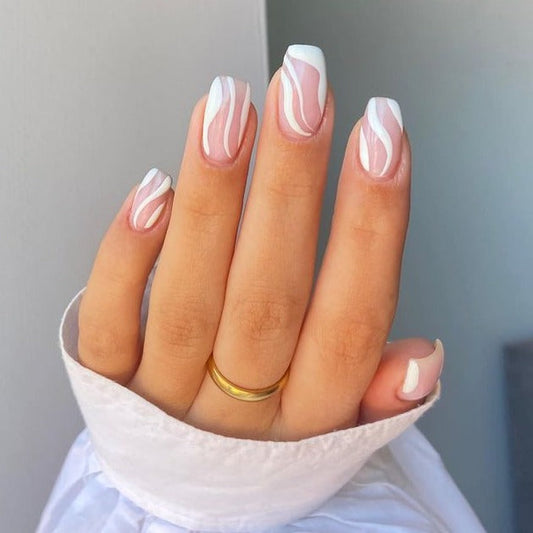
4. Create Designs: Once you've mastered your strokes, it's time to create designs. You can create simple patterns such as flowers or leaves or more intricate designs like mandalas or abstract art. The possibilities are endless, so let your creativity run wild.
5. Finishing Touches: Let your design dry completely, and then apply a topcoat to protect your nail art and add shine. Once everything is dried, show off your new look!
One stroke nail art is the perfect way to elevate your style and impress your friends. With these easy steps, you can create Instagram-worthy designs in no time. So, grab your brushes and paints, and get ready to have some fun!


