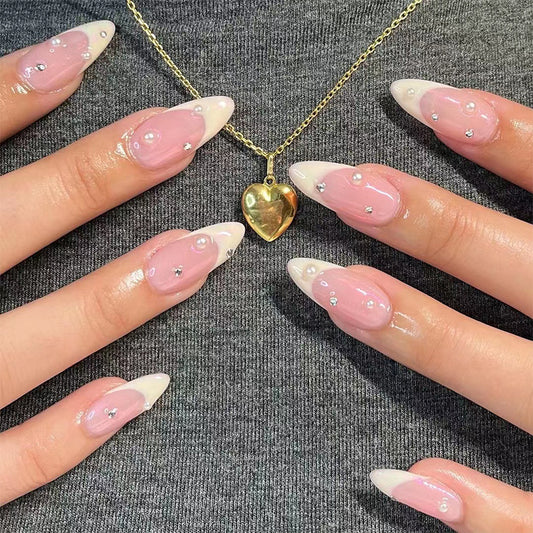
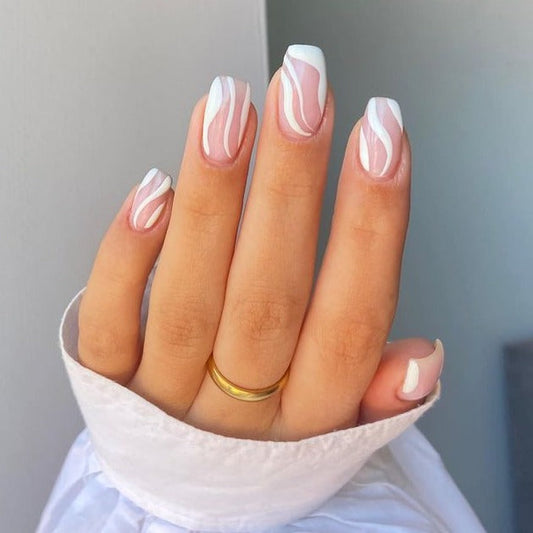
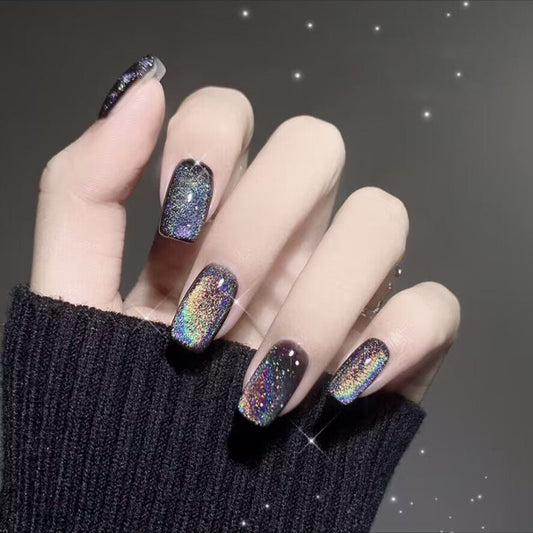
Nail art at home
Nail art at home can be a fun and creative way to express yourself and add a personal touch to your appearance. Here are some steps to follow for a successful at-home nail art experience:
- Gather your materials: You will need nail polish in your base color, as well as any other colors or designs you want to use. You may also want to gather nail art tools such as dotting tools, a fine-tipped brush, or a nail art pen.
- Prepare your nails: Make sure your nails are trimmed and filed to your desired shape, and that they are clean and dry. You may also want to apply a base coat to protect your nails and help the polish adhere.
- Apply your base color: Use a steady hand to apply a thin, even layer of your base color. Allow it to dry completely before moving on to the next step.
- Create your design: There are many different techniques you can use to create your nail art design. You can use a dotting tool to create polka dots, or use a fine-tipped brush to create lines or shapes. You can also use nail art stickers or decals to add a pop of color or pattern.
- Allow your design to dry: Once you have completed your design, allow it to dry completely before applying a top coat. This will help to seal and protect your nail art.
- Apply a top coat: Use a top coat to add shine and help your nail art last longer. Be sure to apply a thin, even layer and allow it to dry completely before touching or handling your nails.
With a little practice and creativity, you can create beautiful nail art at home!


