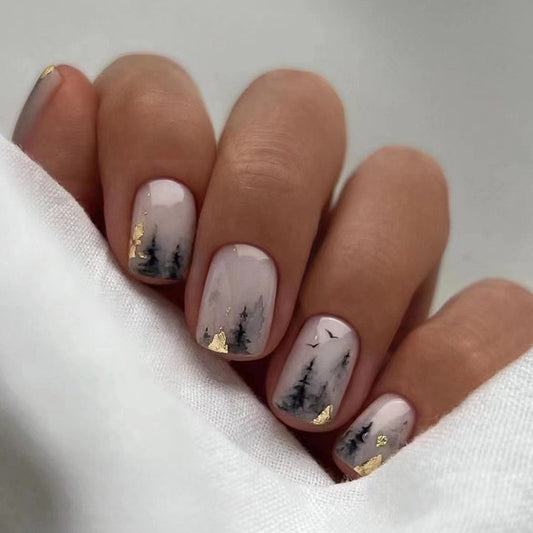
Bold and Beautiful: Black and Orange Ombre Nails
As summer approaches, it's time to ditch the dark winter shades and embrace the bright and bold hues of the season. And what better way to do so than with black and orange ombre nails? This trendy nail art is taking the fashion world by storm, and we're sure you'll love it too. Here we have compiled a list of tips and tricks on how to rock this look and make it your own.
1. Choose the Right Colors
The key to creating stunning ombre nails is picking the perfect shades. For black and orange ombre, try combining a jet black base with a bright orange hue. You can also experiment with different shades of black and orange to create a unique look that matches your personality.
2. Prep Your Nails
Before applying any nail polish, ensure that your nails are well-prepped. File and shape your nails to your desired length and then apply a base coat. This will make your nails smoother and prevent chipping and staining.
3. Apply the Base Color
Start by painting your nails a solid, even coat of black nail polish and let it dry for at least 10 minutes. If needed, apply a second coat for better coverage.
4. Create the Ombre Effect
To make the ombre effect, use a sponge technique. Take a sponge and apply both the black and orange nail polish in diagonal lines over it. Then, press the sponge gently onto your nails, starting from the tips to the base. Repeat this step until you achieve the desired level of ombre.
5. Add Some Texture
For extra texture and glam, add a coat of glitter or small gems to your nails. This will give your nails the perfect finish, making them stand out from the crowd.
6. Seal the Deal
Once your nails are done, don't forget to seal the deal with a top coat. This will ensure your nails last longer while also giving them a glossy finish.
In conclusion, black and orange ombre nails are the perfect way to make a statement this summer. They're bold, beautiful, and perfect for any occasion. Try these tips and tricks at home to create your unique look and make heads turn wherever you go. Happy nails!


