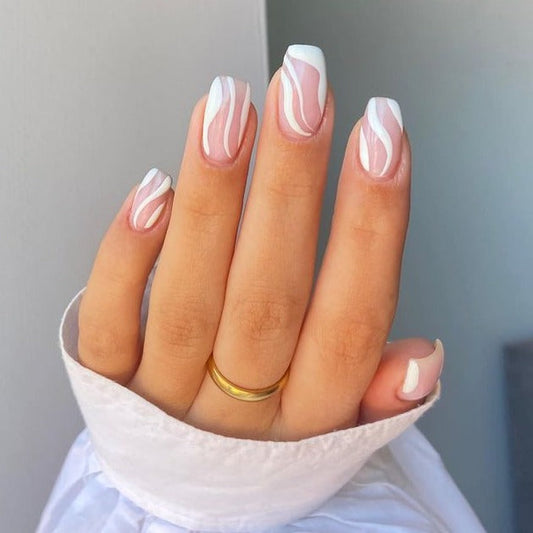
5 Tips for Achieving the Perfect Easter Ombre Nails
Spring is in the air and Easter is just around the corner, which means it's time to give your nails a fresh and colorful update. This year, why not try out the trendy ombre look? Don't worry if you're not a professional nail artist – with a little guidance, you can easily achieve stunning Easter ombre nails. Here are five tips to help you get started:
1. Choose the Right Colors
Picking the right colors is crucial to achieving a flawless ombre effect. For an Easter vibe, think pastels such as baby blue, mint green, pale pink, or lavender. Make sure to choose shades that complement each other well.
2. Prep Your Nails
Before you begin painting, give your nails a little TLC to make sure they're in tip-top shape. Buff and shape your nails, push back your cuticles, and moisturize your hands and nails. If you have any nail polish residue left on your nails, remove it with a nail polish remover.
3. Start Light and Build Up
To achieve the perfect ombre gradient, start with the lightest color at the base of your nails. Apply two thin coats of the lightest color, letting each coat dry completely before applying the next. Then, take your second color (medium shade) and paint the center portion of your nails, blending it into the lighter shade. Finish off with the darkest shade at the tip of your nails.
4. Blend the Colors
To achieve a seamless ombre finish, you'll need to blend the colors together. Use a makeup sponge to dab the colors together where they meet. Be gentle and don't overwork the sponge – you don't want to remove the layers of polish you've already applied.
5. Apply a Topcoat
Once the ombre effect is complete, apply a top coat to seal the polish and give the nails a glossy finish. This will also help your Easter ombre nails last longer without chipping or peeling.
These are some of the essential tips to keep in mind when creating Easter ombre nails. With a little patience and practice, you'll have stunning, festive nails in no time. And don't forget to show off your creations – Easter is the perfect time to share your vibrant and colorful nails with friends and family!